
Poradniki malowania / Warhammer 40,000 / Salamanders / Redemptor Dreadnought
Jak malować Redemptor Dreadnought
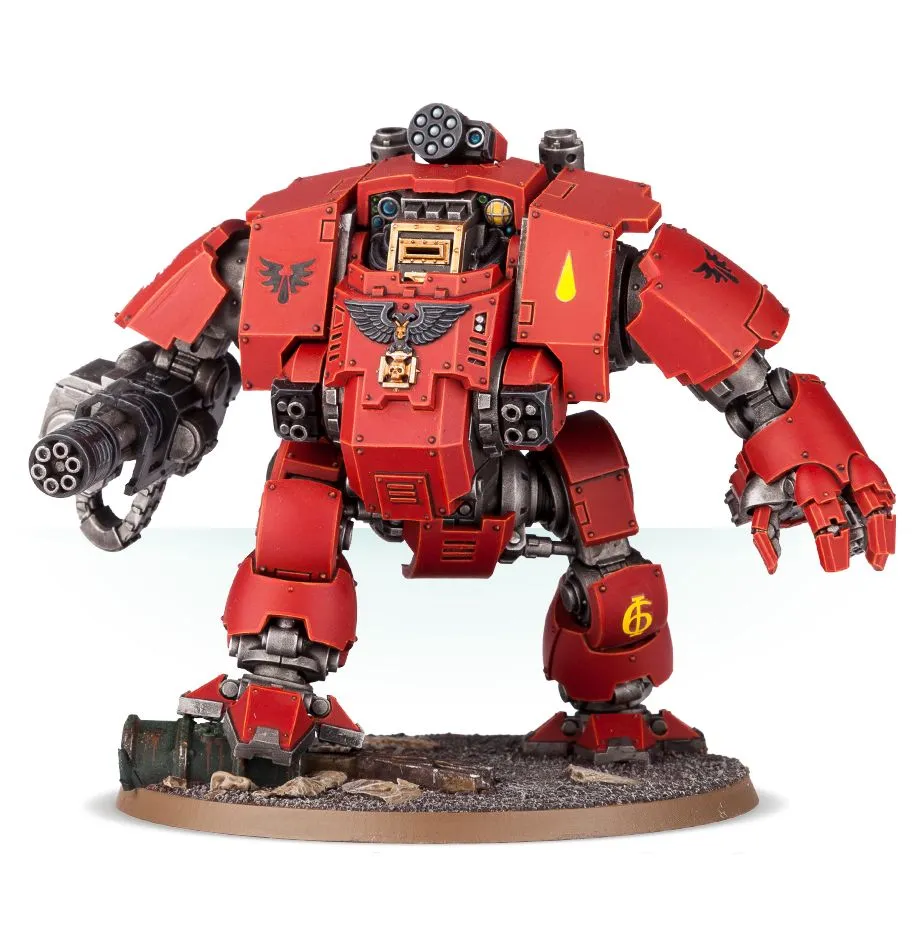
Zdjęcia referencyjne, schematy kolorystyczne z dokładnymi farbami do każdego obszaru i gotowe modele innych malarzy — wszystko, czego potrzebujesz, żeby zacząć Redemptor Dreadnought dla swojej armii Salamanders.
Rola VehiclePunkty 195Frakcja SalamandersSystem Warhammer 40,000
WalkerImperiumRedemptor DreadnoughtDreadnought
Każda farba poniżej prowadzi do jej odpowiedników w innych markach.
Jak wygląda Redemptor Dreadnought
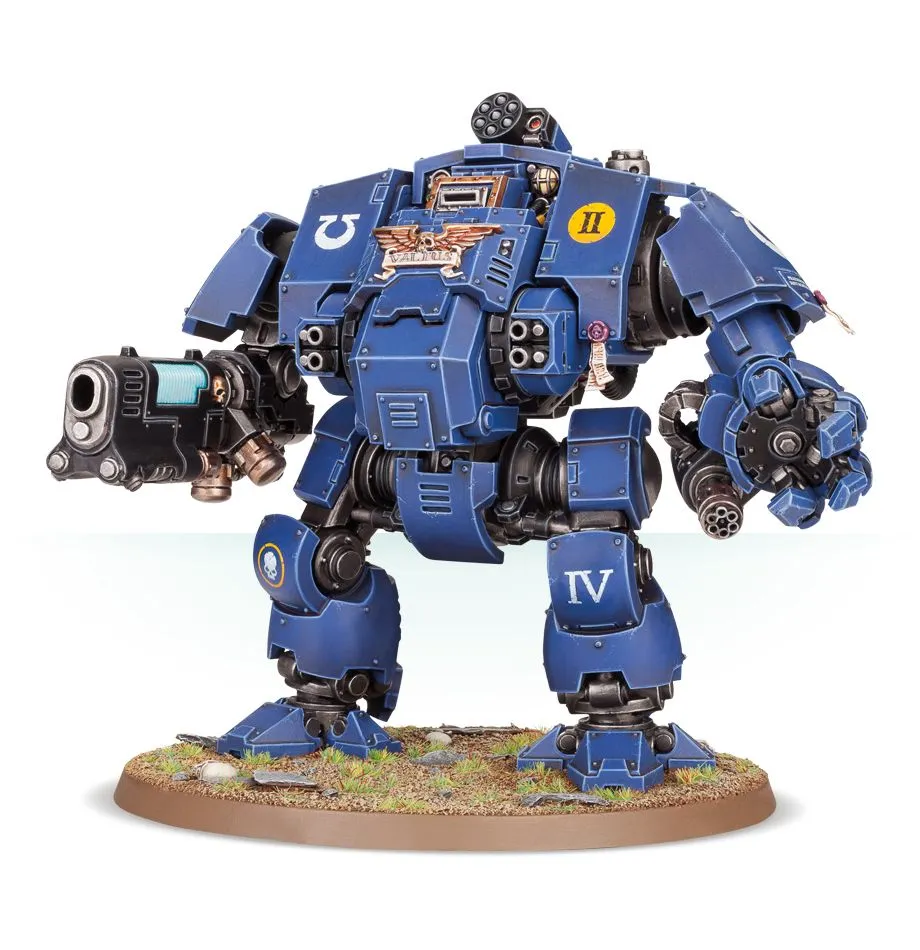
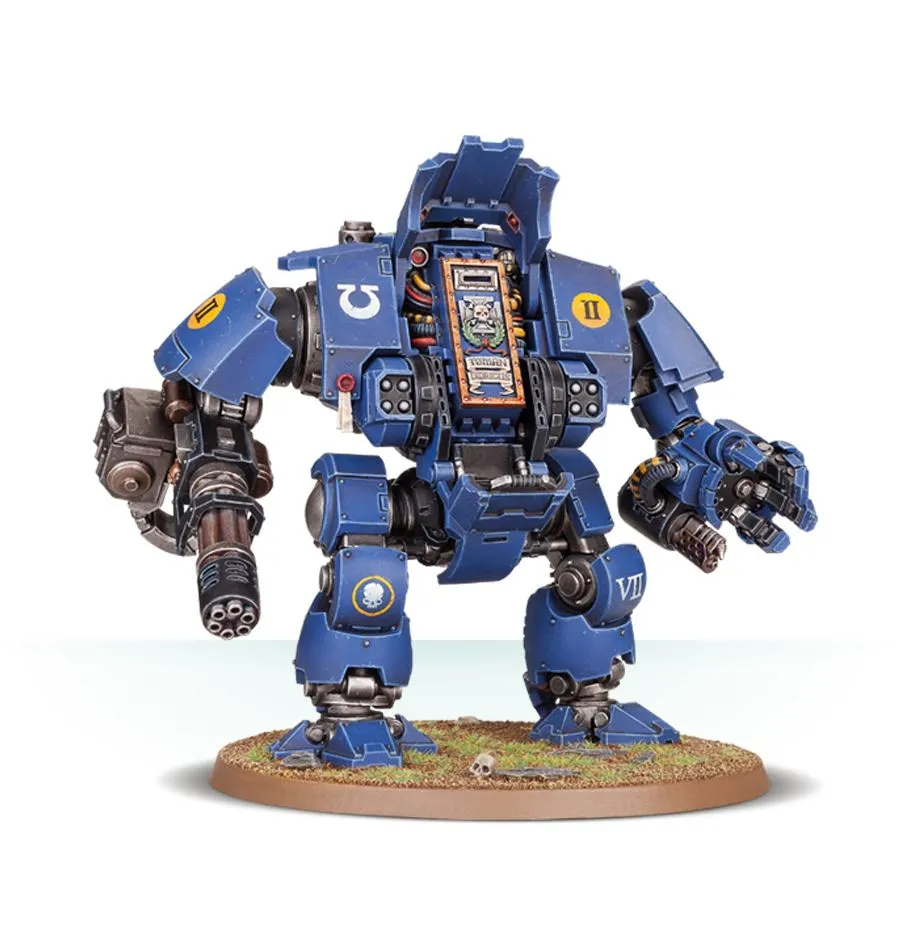
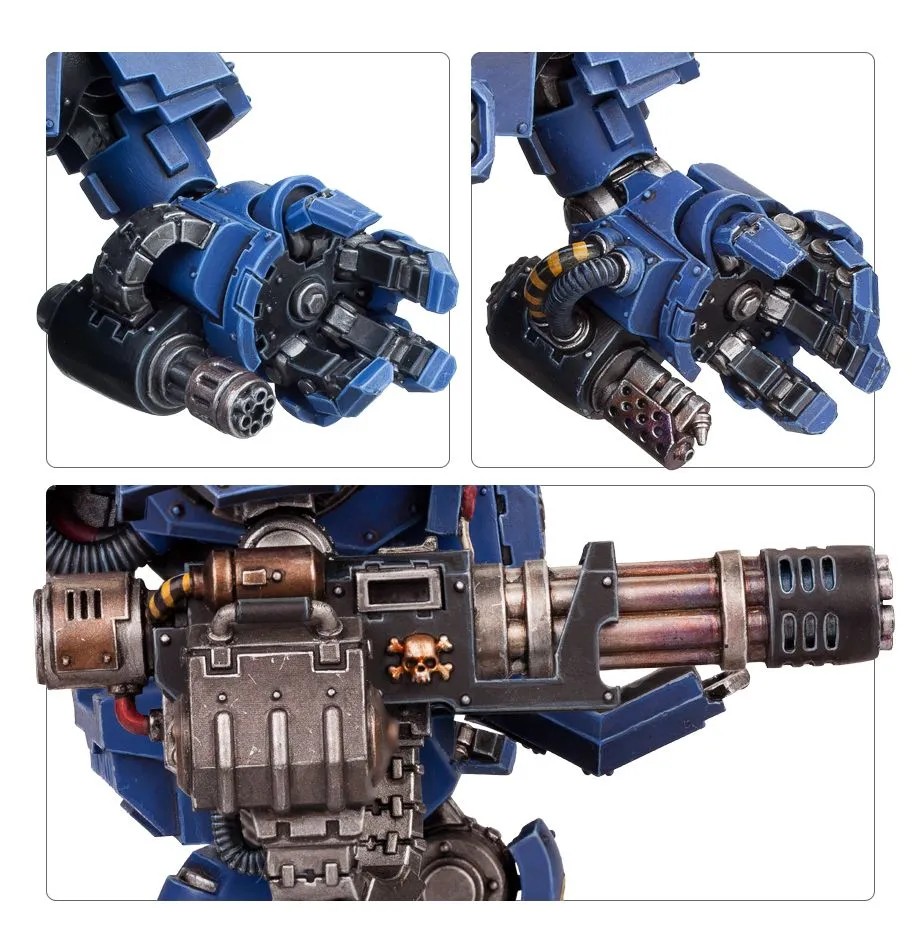
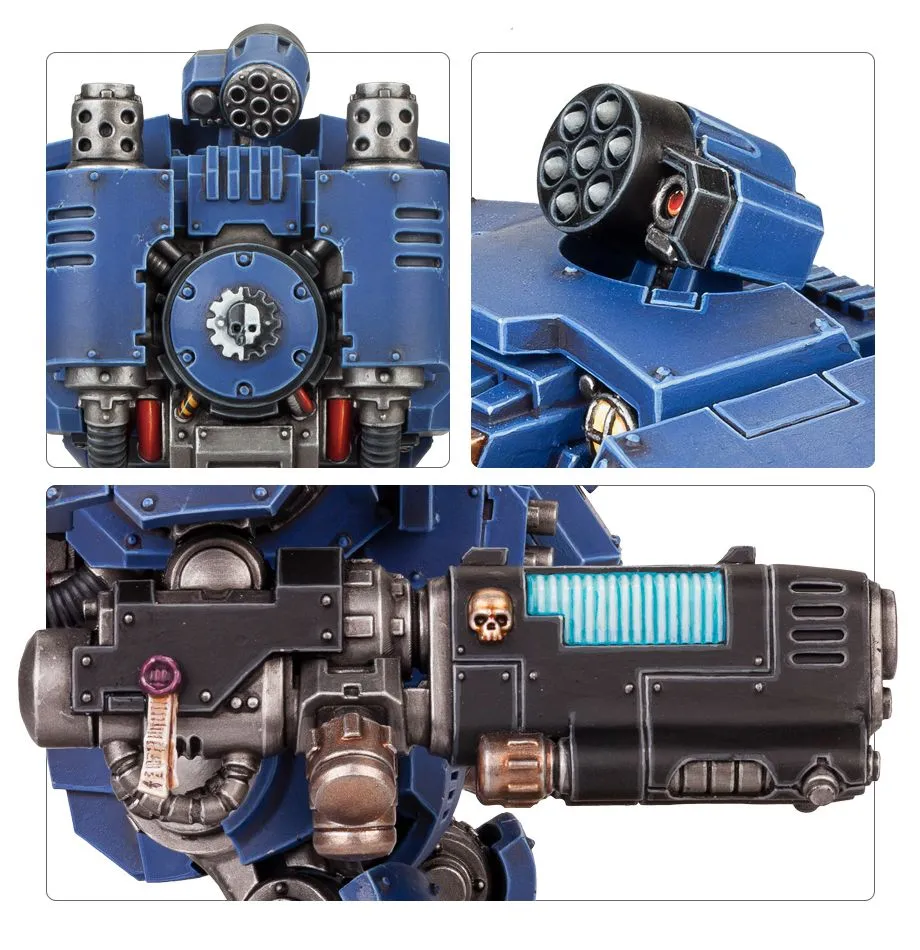
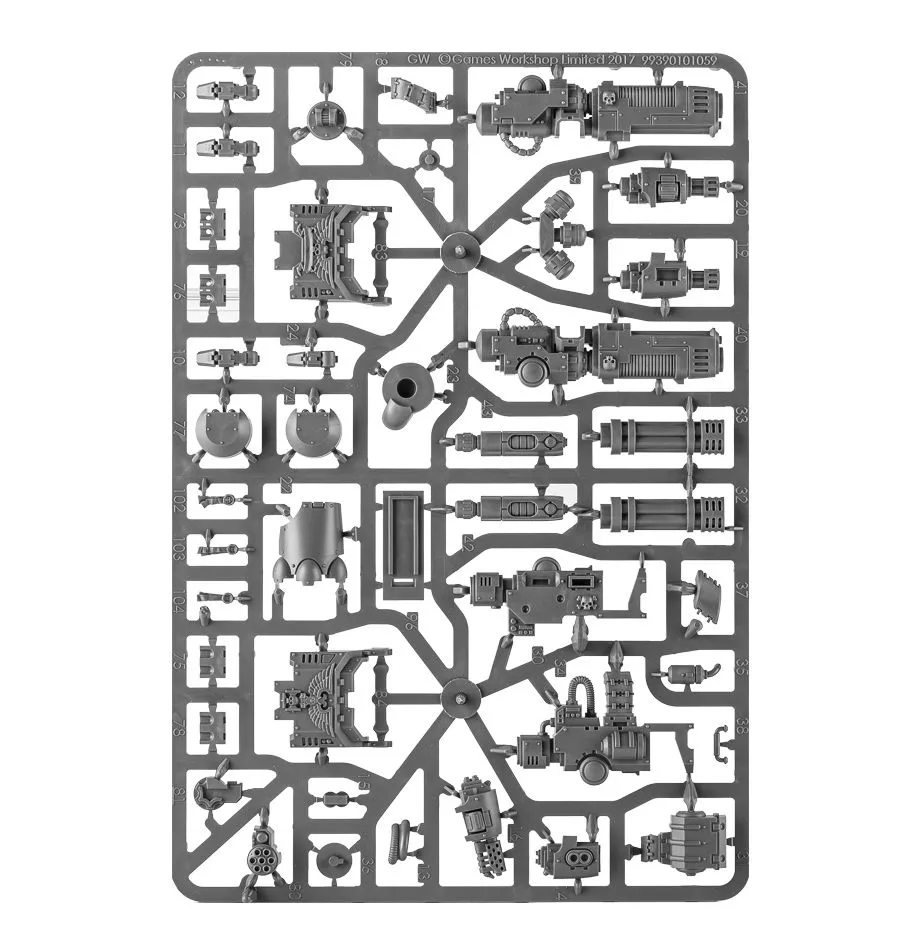
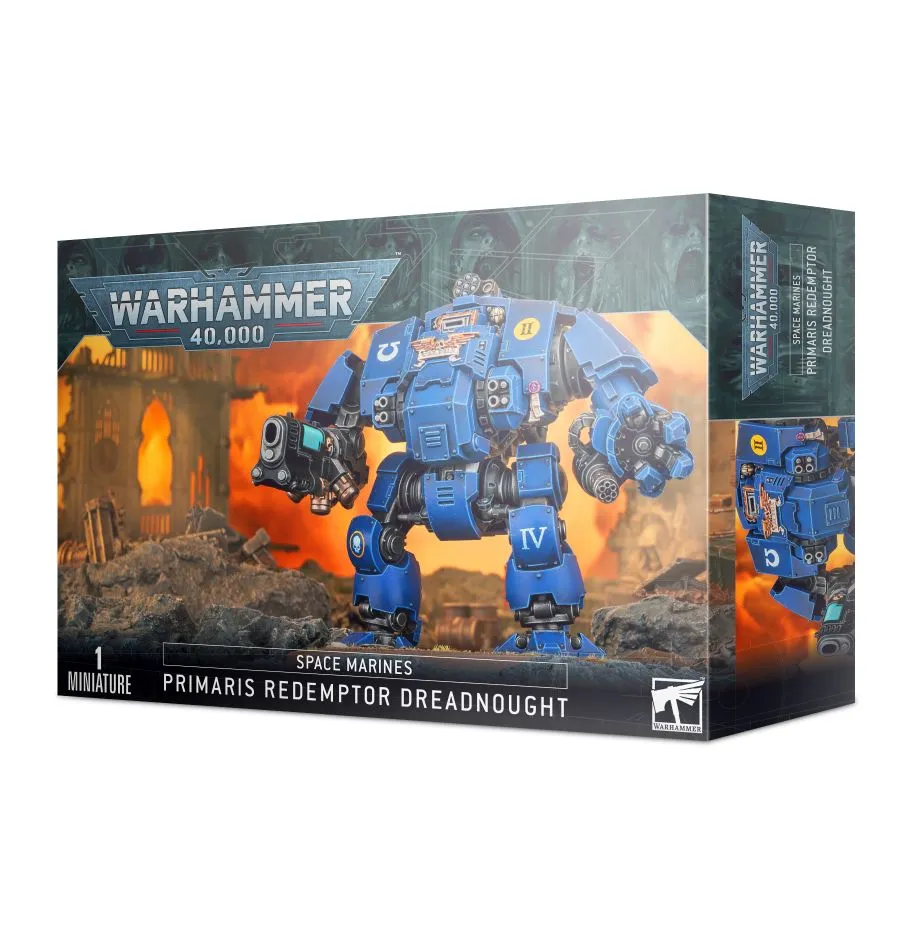
Schematy kolorystyczne
Salamanders — Redemptor Dreadnought
A vehicle wearing chapter colours. The recipe is the same; the surfaces are flat, large and unforgiving, so the technique changes. Painted in Salamanders colours, from primer to based.
Power armour
- Caliban Green Citadel
- Biel-Tan Green Citadel
- Warpstone Glow Citadel
- Basecoat the armour plates Basecoat — Two thin coats, leaving the recesses slightly darker. Thin with water until the paint flows off the brush rather than sits on it.
- Shade the recesses Recess shade — Run the shade into panel lines and around raised details only. A full wash over the plates flattens the armour.
- Edge highlight the plates Edge highlight — A fine line along the top edge of each plate, where light would land. Stop before the line meets the next edge.
Shoulder trim and steel
- Leadbelcher Citadel
- Nuln Oil Citadel
- Ironbreaker Citadel
- Basecoat the trim Basecoat — Keep the line clean — trim is what the eye follows, so a wobble here is more visible than one anywhere else.
- Shade the trim Recess shade — Agrax Earthshade where the trim meets the plate, so it reads as a separate piece of metal.
- Highlight the trim Edge highlight
Helmet lenses
- Averland Sunset Citadel
- Yriel Yellow Citadel
- Flash Gitz Yellow Citadel
- White Scar Citadel
- Fill the lens Basecoat — Fill the whole lens recess with the darkest amber.
- Leave a dark rim Layer — Cover the lens again but stop short of the bottom edge, leaving a crescent of the base colour.
- Dot the catchlight Detail — One small dot in the upper corner. The dot is what makes the lens read as glass.
Hull panels and sarcophagus
- Caliban Green Citadel
- Nuln Oil Citadel
- Leadbelcher Citadel
- Ironbreaker Citadel
- Rhinox Hide Citadel
- Basecoat the large panels Basecoat — Large flat panels show brush marks a shoulder pad hides. Thin further than you would for infantry and build up three coats.
- Panel-line the hull Recess shade — Nuln Oil drawn along the panel gaps with the tip of the brush, not washed across the panel.
- Sarcophagus and ironwork Layer — The sarcophagus face and its steel surround are the focal point — spend the time here, not on the shins.
- Chipping along the leading edges Stipple — Sponge Rhinox Hide chips first, then a smaller Leadbelcher chip inside some of them.
Coal-black skin and flame weapons
- Abaddon Black Citadel
- Eshin Grey Citadel
- Dawnstone Citadel
- Troll Slayer Orange Citadel
- Typhus Corrosion Citadel
- Ryza Rust Citadel
- Basecoat exposed skin Basecoat — Salamanders have jet-black skin and burning red eyes — the single most recognisable thing about the chapter.
- Build the skin back up Layer — Eshin Grey on the brow, nose and cheekbones, then a sparing Dawnstone on the highest points only.
- Eyes and flamer nozzles Detail — Troll Slayer Orange eyes; scorch the flamer nozzle with Typhus Corrosion then a Ryza Rust drybrush.
Base
- Astrogranite Citadel
- Administratum Grey Citadel
- Dawnstone Citadel
- Abaddon Black Citadel
- Texture the base Texture — Astrogranite straight from the pot with an old brush, kept off the rim.
- Drybrush the rubble Drybrush — Administratum Grey, then a lighter pass so only the highest grit catches it.
- Paint the rim Detail — Abaddon Black around the rim in one steady pass. A clean rim is what makes a squad look finished.
Wszystkie farby na tej stronie
19 farb we wszystkich schematach i poradnikach powyżej. Odhacz to, czego potrzebujesz, żeby zbudować listę, albo przejdź do farby, żeby znaleźć ją w innej marce.
- Abaddon Black Citadel
- Administratum Grey Citadel
- Astrogranite Citadel
- Averland Sunset Citadel
- Biel-Tan Green Citadel
- Caliban Green Citadel
- Dawnstone Citadel
- Eshin Grey Citadel
- Flash Gitz Yellow Citadel
- Ironbreaker Citadel
- Leadbelcher Citadel
- Nuln Oil Citadel
- Rhinox Hide Citadel
- Ryza Rust Citadel
- Troll Slayer Orange Citadel
- Typhus Corrosion Citadel
- Warpstone Glow Citadel
- White Scar Citadel
- Yriel Yellow Citadel
Więcej poradników malowania Salamanders →
Prowadź ten projekt od ramki do gotowego modelu
Dodaj Redemptor Dreadnought do stosu, odhacz farby, które już masz, i sprawdź, czego jeszcze brakuje, zanim otworzysz pudełko.