Painting guides / Warhammer 40,000 / Ultramarines / Redemptor Dreadnought
How to paint Redemptor Dreadnought
Reference photos, colour schemes with the exact paints for every area, and finished models from other painters — everything you need to start Redemptor Dreadnought for your Ultramarines force.
Role VehiclePoints 195Faction UltramarinesSystem Warhammer 40,000
WalkerImperiumRedemptor DreadnoughtDreadnought
Every paint below links to its equivalents in other brands.
What Redemptor Dreadnought looks like
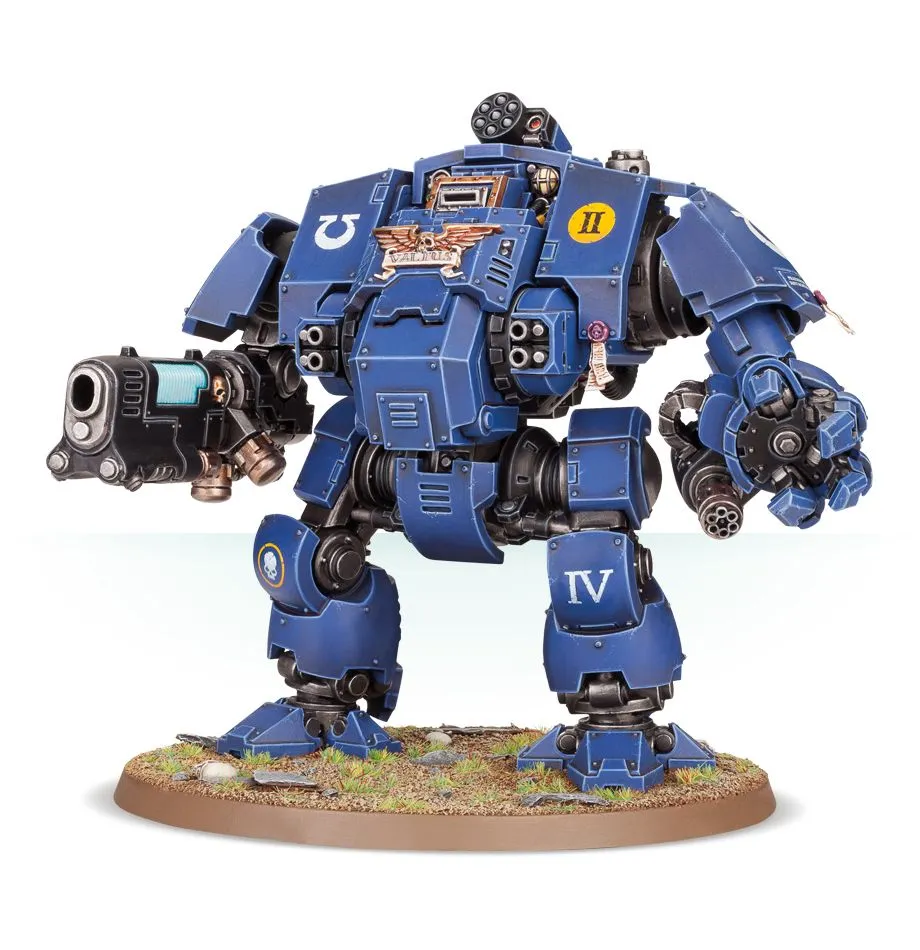
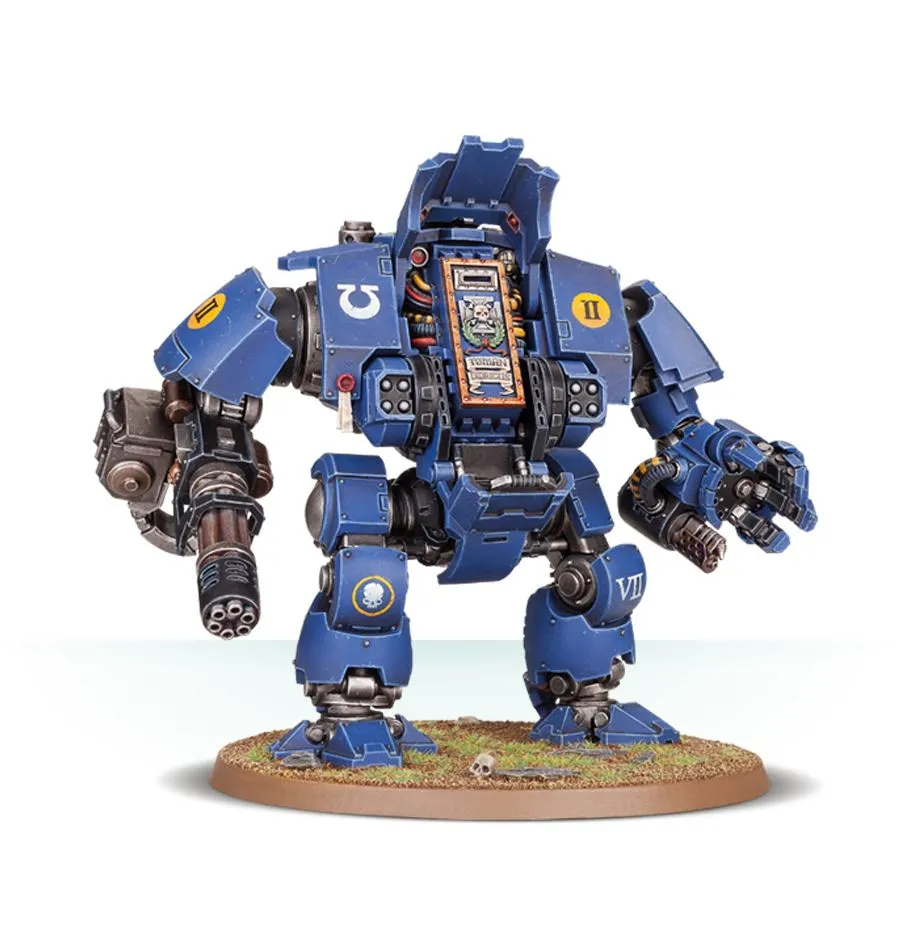
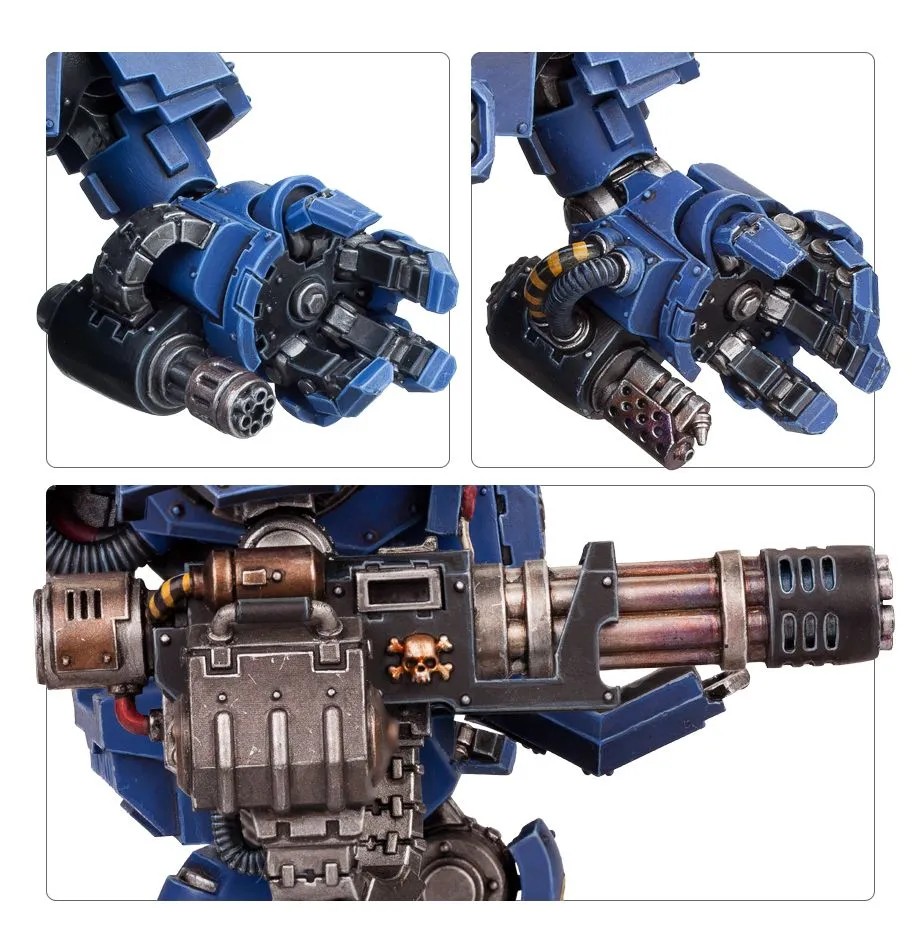
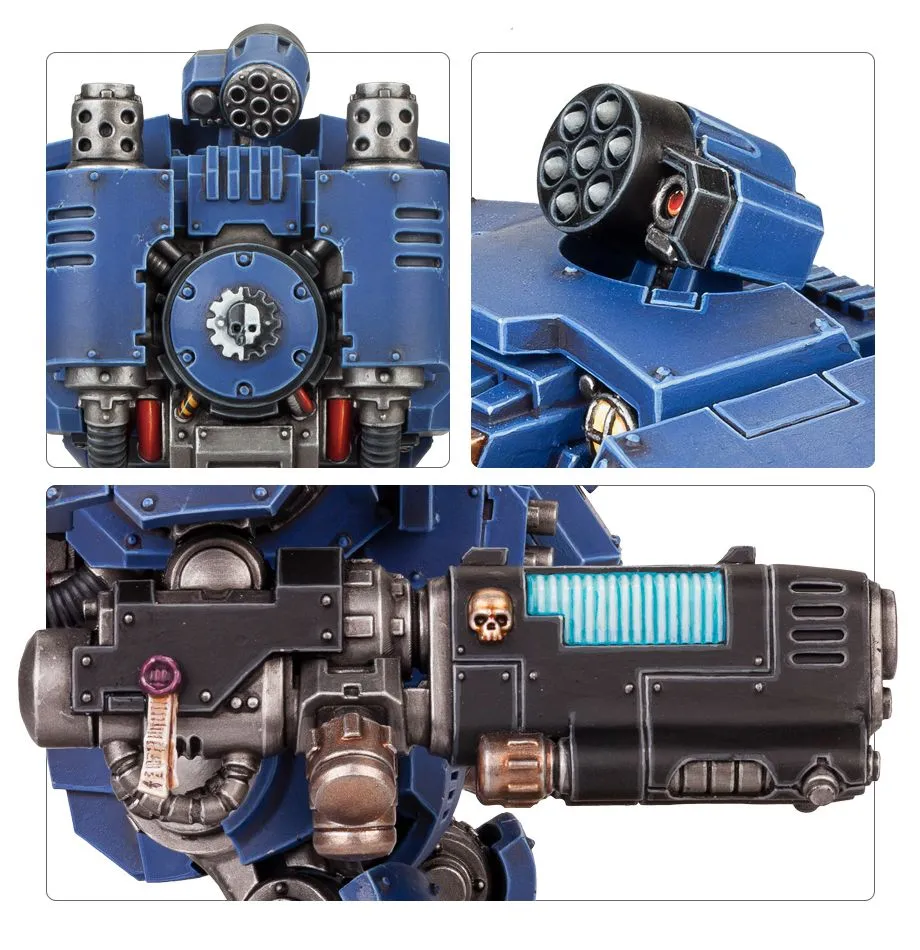
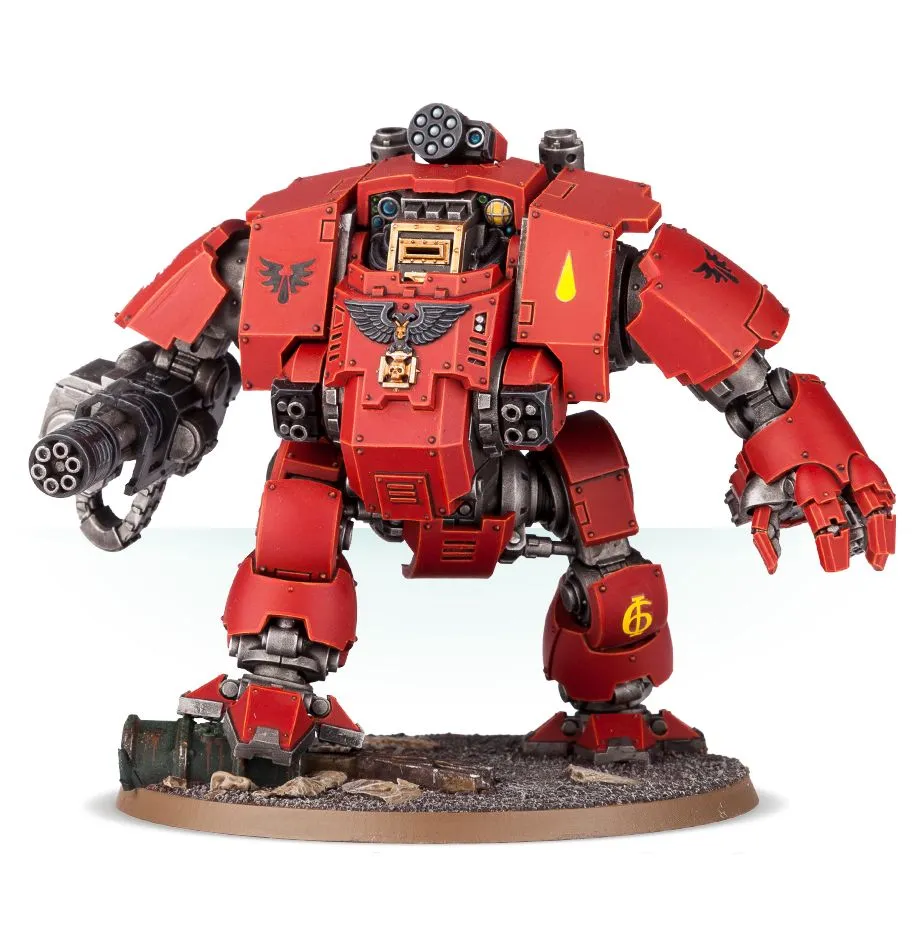
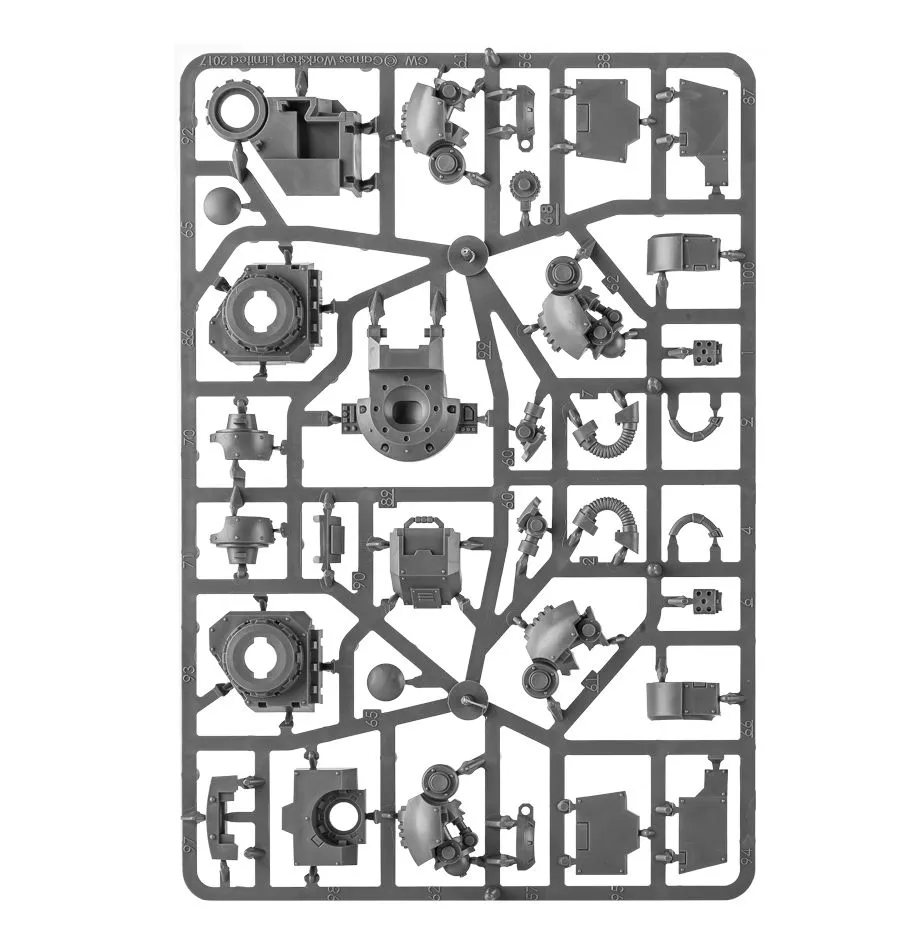
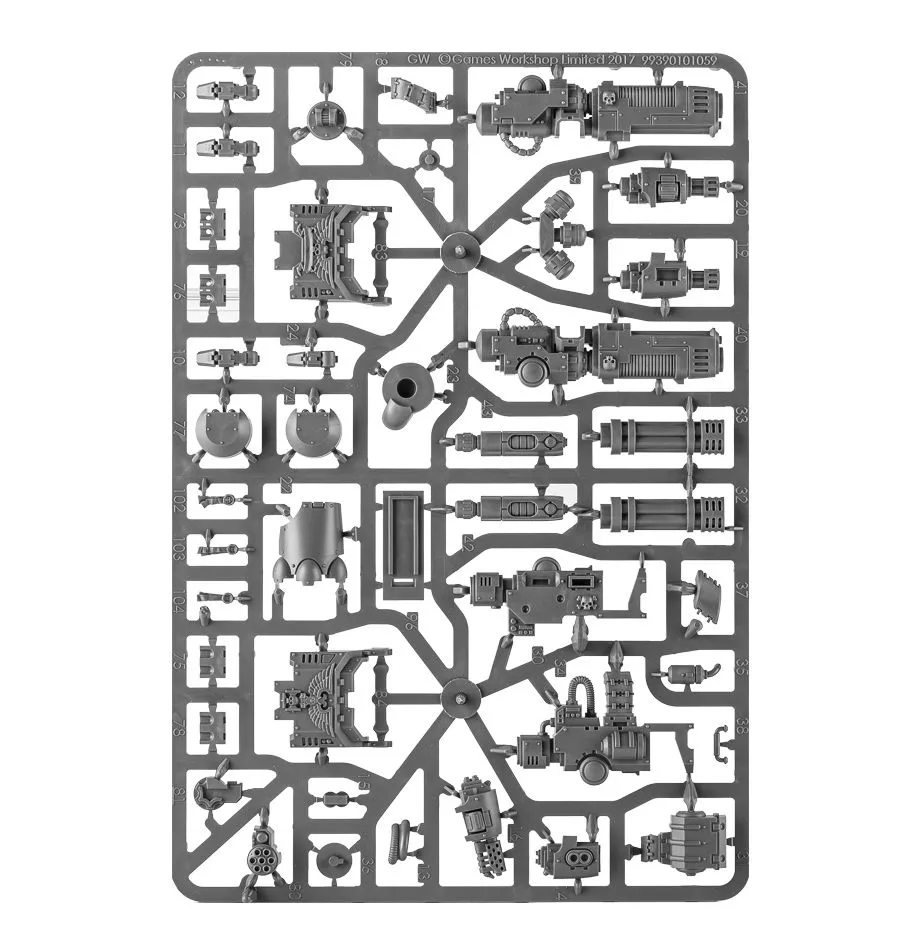
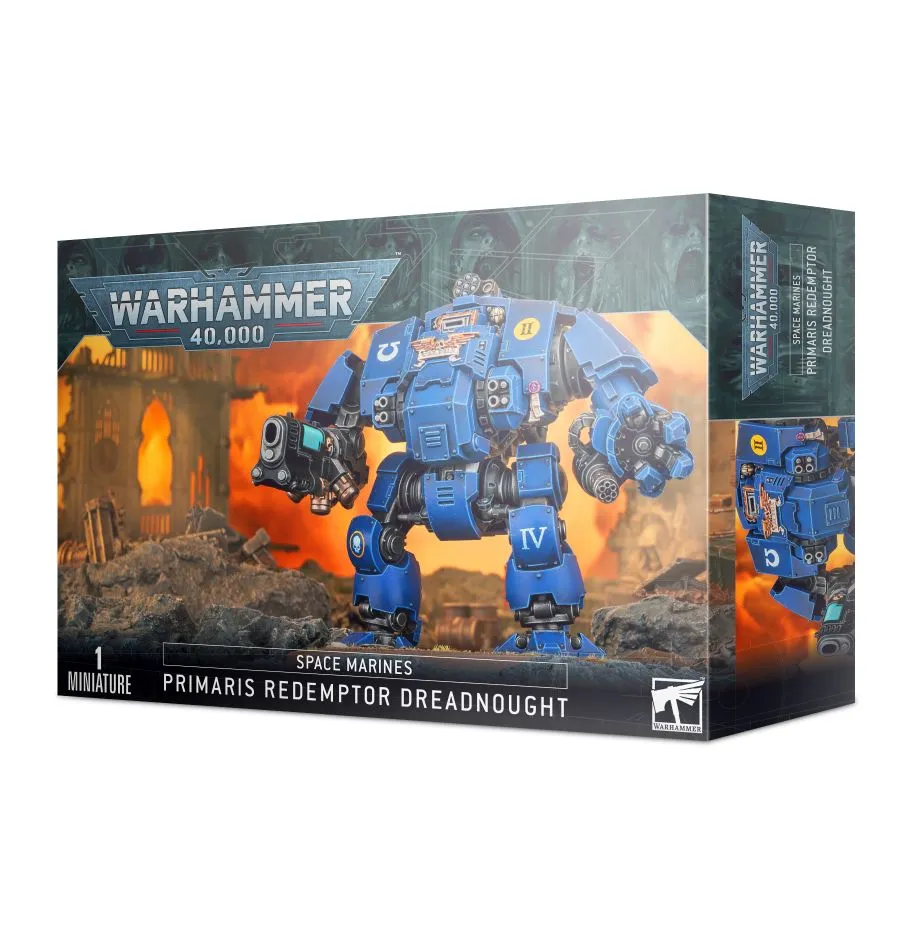
Colour schemes
Ultramarines — Redemptor Dreadnought
A vehicle wearing chapter colours. The recipe is the same; the surfaces are flat, large and unforgiving, so the technique changes. Painted in Ultramarines colours, from primer to based.
Power armour
- Macragge Blue Citadel
- Nuln Oil Citadel
- Calgar Blue Citadel
- Basecoat the armour plates Basecoat — Two thin coats, leaving the recesses slightly darker. Thin with water until the paint flows off the brush rather than sits on it.
- Shade the recesses Recess shade — Run the shade into panel lines and around raised details only. A full wash over the plates flattens the armour.
- Edge highlight the plates Edge highlight — A fine line along the top edge of each plate, where light would land. Stop before the line meets the next edge.
Shoulder trim and gold
- Retributor Armour Citadel
- Agrax Earthshade Citadel
- Auric Armour Gold Citadel
- Basecoat the trim Basecoat — Keep the line clean — trim is what the eye follows, so a wobble here is more visible than one anywhere else.
- Shade the trim Recess shade — Agrax Earthshade where the trim meets the plate, so it reads as a separate piece of metal.
- Highlight the trim Edge highlight
Helmet lenses
- Mephiston Red Citadel
- Evil Sunz Scarlet Citadel
- Wild Rider Red Citadel
- White Scar Citadel
- Fill the lens Basecoat — Fill the whole lens recess with the darkest red.
- Leave a dark rim Layer — Cover the lens again but stop short of the bottom edge, leaving a crescent of the base colour.
- Dot the catchlight Detail — One small dot in the upper corner. The dot is what makes the lens read as glass.
Hull panels and sarcophagus
- Macragge Blue Citadel
- Nuln Oil Citadel
- Retributor Armour Citadel
- Agrax Earthshade Citadel
- Auric Armour Gold Citadel
- Rhinox Hide Citadel
- Leadbelcher Citadel
- Basecoat the large panels Basecoat — Large flat panels show brush marks a shoulder pad hides. Thin further than you would for infantry and build up three coats.
- Panel-line the hull Recess shade — Nuln Oil drawn along the panel gaps with the tip of the brush, not washed across the panel.
- Sarcophagus and ironwork Layer — The sarcophagus face and its gold surround are the focal point — spend the time here, not on the shins.
- Chipping along the leading edges Stipple — Sponge Rhinox Hide chips first, then a smaller Leadbelcher chip inside some of them.
Chapter markings
- Ushabti Bone Citadel
- Seraphim Sepia Citadel
- Screaming Skull Citadel
- White Scar Citadel
- Block in the right shoulder pad Basecoat — Ultramarines wear a bone pad on the right shoulder. Two thin coats beat one thick one over blue.
- Shade and clean up Recess shade — A pin-wash into the pad rim only — flooding the whole pad turns bone into mud.
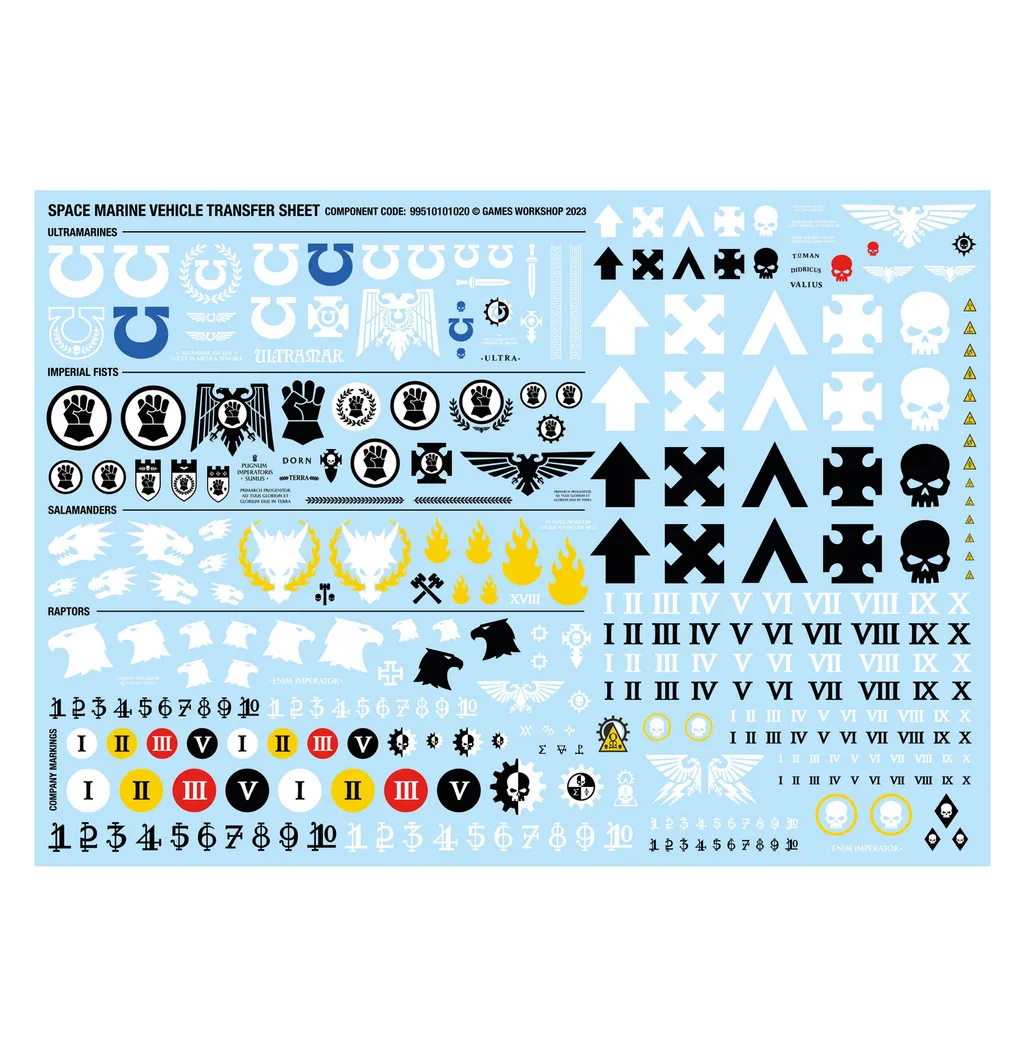
- Highlight the pad and paint the chapter symbol Edge highlight — Screaming Skull on the upper edge, then the omega symbol freehand or transfer.
Base
- Astrogranite Citadel
- Administratum Grey Citadel
- Dawnstone Citadel
- Abaddon Black Citadel
- Texture the base Texture — Astrogranite straight from the pot with an old brush, kept off the rim.
- Drybrush the rubble Drybrush — Administratum Grey, then a lighter pass so only the highest grit catches it.
- Paint the rim Detail — Abaddon Black around the rim in one steady pass. A clean rim is what makes a squad look finished.
Every paint on this page
19 paints across every scheme and tutorial above. Tick what you need to build a list, or follow a paint through to find it in another brand.
- Abaddon Black Citadel
- Administratum Grey Citadel
- Agrax Earthshade Citadel
- Astrogranite Citadel
- Auric Armour Gold Citadel
- Calgar Blue Citadel
- Dawnstone Citadel
- Evil Sunz Scarlet Citadel
- Leadbelcher Citadel
- Macragge Blue Citadel
- Mephiston Red Citadel
- Nuln Oil Citadel
- Retributor Armour Citadel
- Rhinox Hide Citadel
- Screaming Skull Citadel
- Seraphim Sepia Citadel
- Ushabti Bone Citadel
- White Scar Citadel
- Wild Rider Red Citadel
More Ultramarines painting guides →
Track this project from sprue to finished
Add Redemptor Dreadnought to your pile, tick off the paints you already own, and see what is still missing before you open the box.