
Посібники з фарбування / Warhammer 40,000 / Blood Angels / Assault Intercessor Squad
Як фарбувати Assault Intercessor Squad
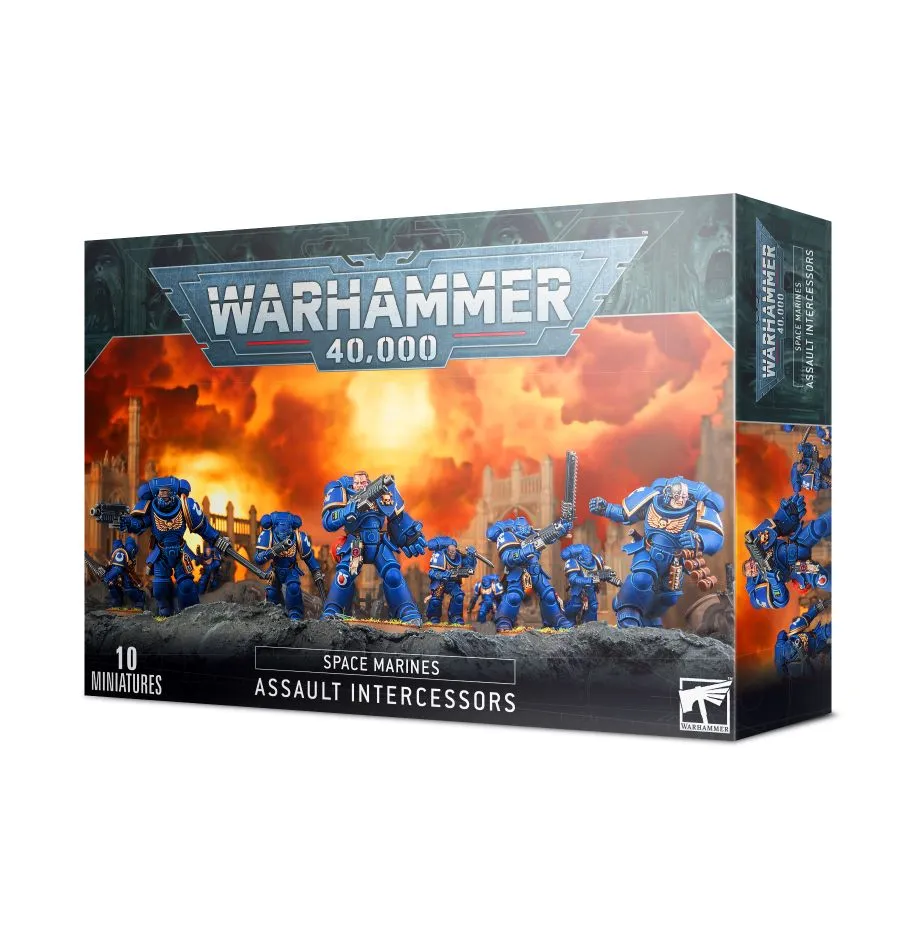
Референсні фото, колірні схеми з точними фарбами для кожної зони та готові моделі інших малярів — усе, що потрібно, щоб узятися за Assault Intercessor Squad для вашого війська Blood Angels.
Роль BattlelineОчки 75Фракція Blood AngelsСистема Warhammer 40,000
InfantryGrenadesImperiumAssault Intercessor SquadTacticus
Кожна фарба нижче веде до її відповідників в інших брендах.
Як виглядає Assault Intercessor Squad
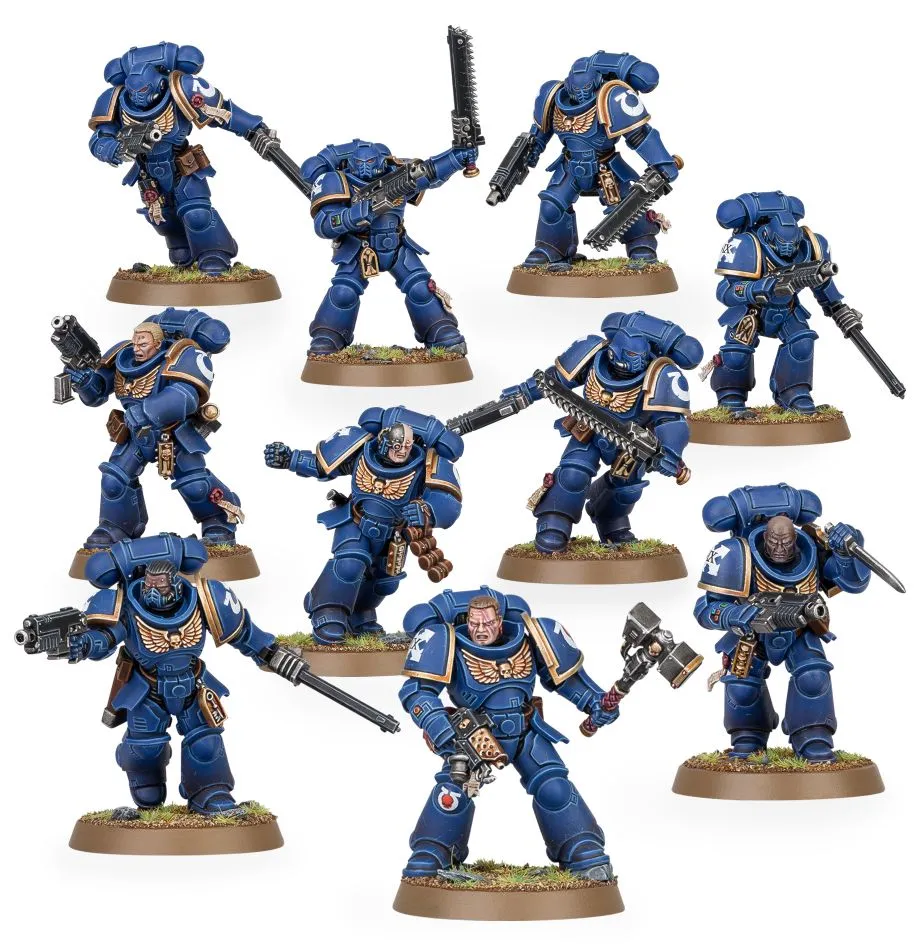
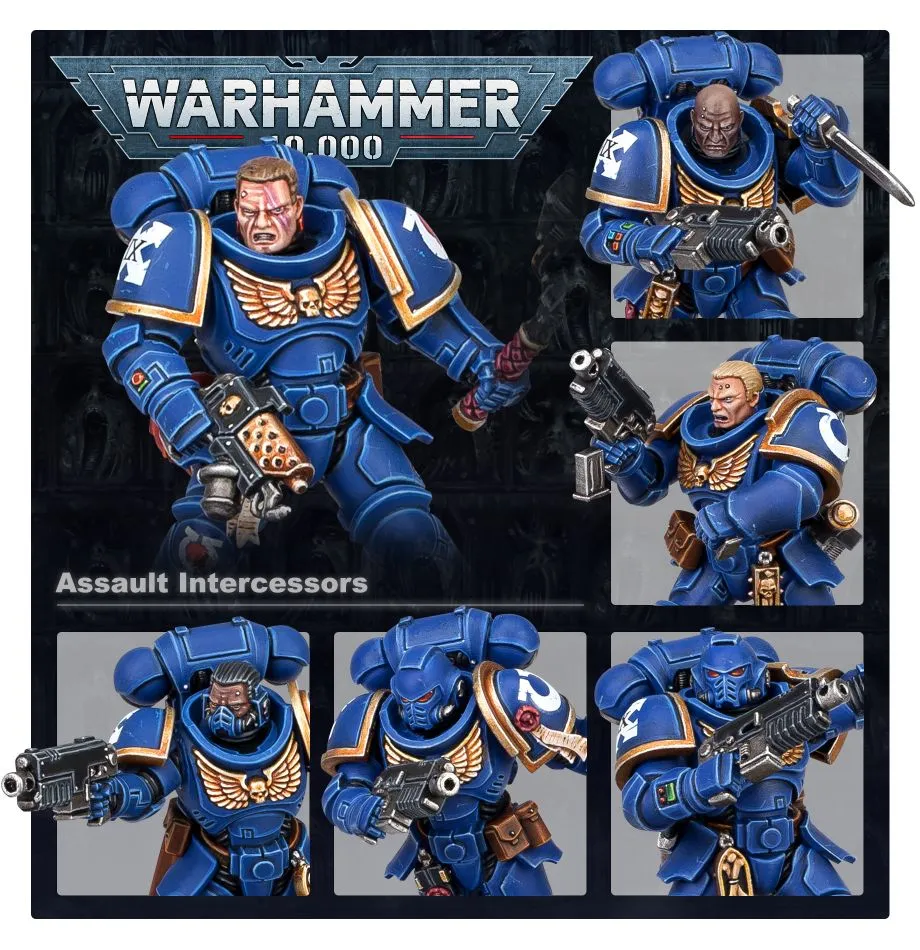
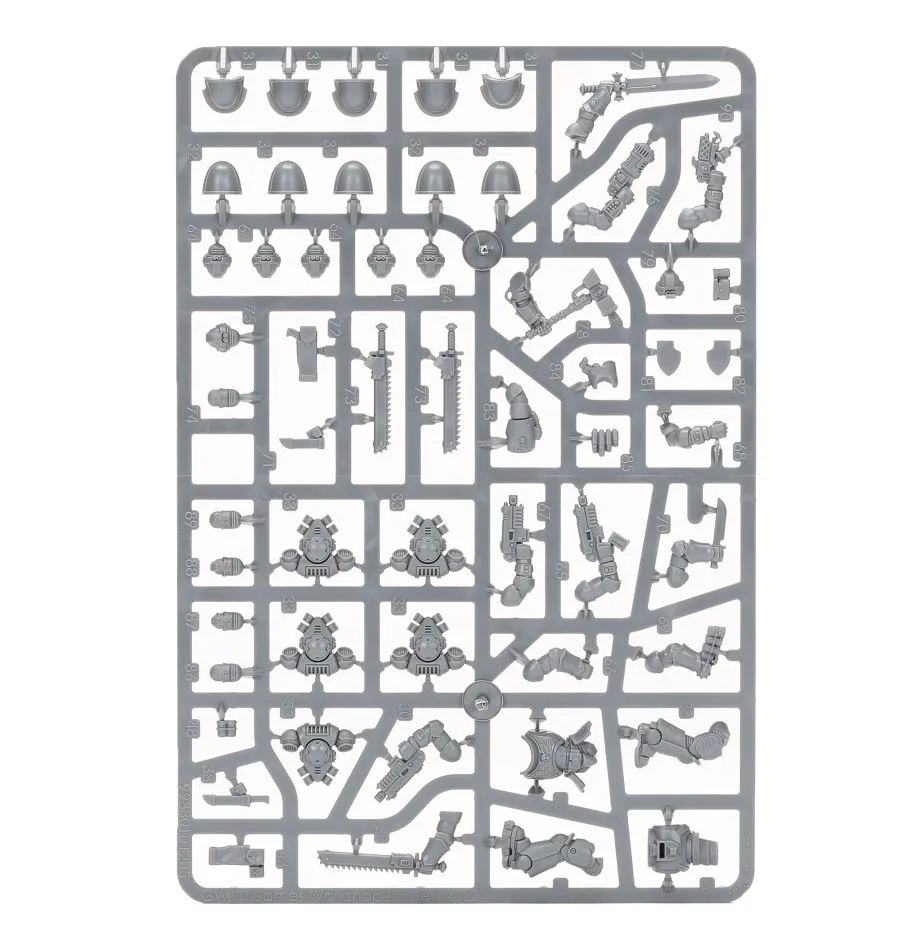
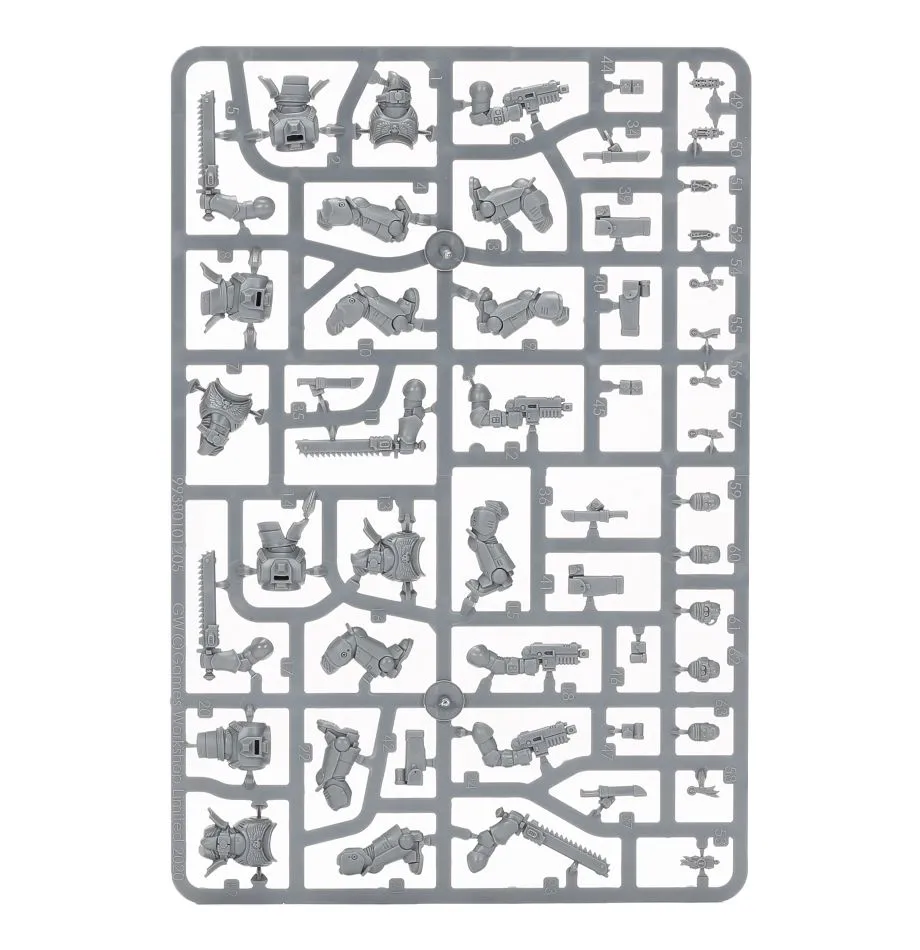
Колірні схеми
Blood Angels — Assault Intercessor Squad
Same armour recipe as the Intercessors, with chainsword teeth and a plasma pistol to break up the silhouette. Painted in Blood Angels colours, from primer to based.
Power armour
- Mephiston Red Citadel
- Carroburg Crimson Citadel
- Evil Sunz Scarlet Citadel
- Wild Rider Red Citadel
- Basecoat the armour plates Basecoat — Two thin coats, leaving the recesses slightly darker. Thin with water until the paint flows off the brush rather than sits on it.
- Shade the recesses Recess shade — Run the shade into panel lines and around raised details only. A full wash over the plates flattens the armour.
- Edge highlight the plates Edge highlight — A fine line along the top edge of each plate, where light would land. Stop before the line meets the next edge.
- Sharpen the brightest edges Edge highlight — Only the corners and the very top of each plate — this is a fraction of the previous line.
Bolter and metal
- Leadbelcher Citadel
- Nuln Oil Citadel
- Ironbreaker Citadel
- Retributor Armour Citadel
- Basecoat the metal Basecoat — Leadbelcher over the bolter body, barrel and any exposed pistons.
- Shade the metal All-over shade — Nuln Oil across the whole weapon — metallics are the one area that wants a full wash.
- Bring back the edges Edge highlight — Ironbreaker on the barrel rim and casing edges, then a spot of gold on the ammo feed.
Shoulder trim and gold
- Retributor Armour Citadel
- Agrax Earthshade Citadel
- Auric Armour Gold Citadel
- Basecoat the trim Basecoat — Keep the line clean — trim is what the eye follows, so a wobble here is more visible than one anywhere else.
- Shade the trim Recess shade — Agrax Earthshade where the trim meets the plate, so it reads as a separate piece of metal.
- Highlight the trim Edge highlight
Helmet lenses
- Caliban Green Citadel
- Warpstone Glow Citadel
- Moot Green Citadel
- White Scar Citadel
- Fill the lens Basecoat — Fill the whole lens recess with the darkest green.
- Leave a dark rim Layer — Cover the lens again but stop short of the bottom edge, leaving a crescent of the base colour.
- Dot the catchlight Detail — One small dot in the upper corner. The dot is what makes the lens read as glass.
Chainsword and plasma
- Abaddon Black Citadel
- Leadbelcher Citadel
- Nuln Oil Citadel
- Runefang Steel Citadel
- Blue Horror Citadel
- White Scar Citadel
- Tesseract Glow Citadel
- Chainsword housing and teeth Layer — Leadbelcher teeth over an Abaddon Black housing, then Nuln Oil to knock the shine back.
- Bare metal on the cutting edge Drybrush — A light Runefang Steel drybrush across the teeth only — this is where the eye lands.
- Plasma coil glow Glaze — Blue Horror over the coil, White Scar in the centre, then a Tesseract Glow glaze to tie it together.
Black weapon casings and seals
- Abaddon Black Citadel
- Eshin Grey Citadel
- Dawnstone Citadel
- Ushabti Bone Citadel
- Seraphim Sepia Citadel
- Mephiston Red Citadel
- Basecoat the casings Basecoat — Bolter casings and backpack vents stay black — the contrast is what stops the model reading as one flat red shape.
- Raise the edges out of the black Edge highlight — Eshin Grey first, then a thinner Dawnstone line on the sharpest edges only.
- Purity seals Layer — Ushabti Bone parchment, Seraphim Sepia into the folds, Mephiston Red wax blob.
Base
- Astrogranite Citadel
- Administratum Grey Citadel
- Dawnstone Citadel
- Abaddon Black Citadel
- Texture the base Texture — Astrogranite straight from the pot with an old brush, kept off the rim.
- Drybrush the rubble Drybrush — Administratum Grey, then a lighter pass so only the highest grit catches it.
- Paint the rim Detail — Abaddon Black around the rim in one steady pass. A clean rim is what makes a squad look finished.
Усі фарби на цій сторінці
24 фарби по всіх схемах і туторіалах вище. Позначте те, що вам потрібно, щоб скласти список, або перейдіть до фарби, щоб знайти її в іншому бренді.
- Abaddon Black Citadel
- Administratum Grey Citadel
- Agrax Earthshade Citadel
- Astrogranite Citadel
- Auric Armour Gold Citadel
- Blue Horror Citadel
- Caliban Green Citadel
- Carroburg Crimson Citadel
- Dawnstone Citadel
- Eshin Grey Citadel
- Evil Sunz Scarlet Citadel
- Ironbreaker Citadel
- Leadbelcher Citadel
- Mephiston Red Citadel
- Moot Green Citadel
- Nuln Oil Citadel
- Retributor Armour Citadel
- Runefang Steel Citadel
- Seraphim Sepia Citadel
- Tesseract Glow Citadel
- Ushabti Bone Citadel
- Warpstone Glow Citadel
- White Scar Citadel
- Wild Rider Red Citadel
Більше посібників з фарбування Blood Angels →
Ведіть цей проєкт від литника до готової моделі
Додайте Assault Intercessor Squad до своєї купи, позначте фарби, які у вас уже є, і подивіться, чого ще бракує, перш ніж відкривати коробку.